Are you into resin art and looking out for amazing creative ideas to try out the same? Well, in that case, resin Badge Reels are good to go with.
Casting out badges from resins and aligning them with the reels is what is termed as Resin Badge Reels, and it is also actually what the process of curating them involves.
Sounded simple and excited? Yes! You heard it right. Casting resin badge reels are just as simple as they sound here but only if you follow this complete guide.
All you need is to put your eyeglasses on and explore this step-to-step guide till the last. Read on to know every detail about making resin badge reels.
This article will deliberately explore what resin badge reels are, the materials needed for making them, and what is the actual procedure of making them, along with its core theory.
Table of Contents
What Are Resin Badge Reels?
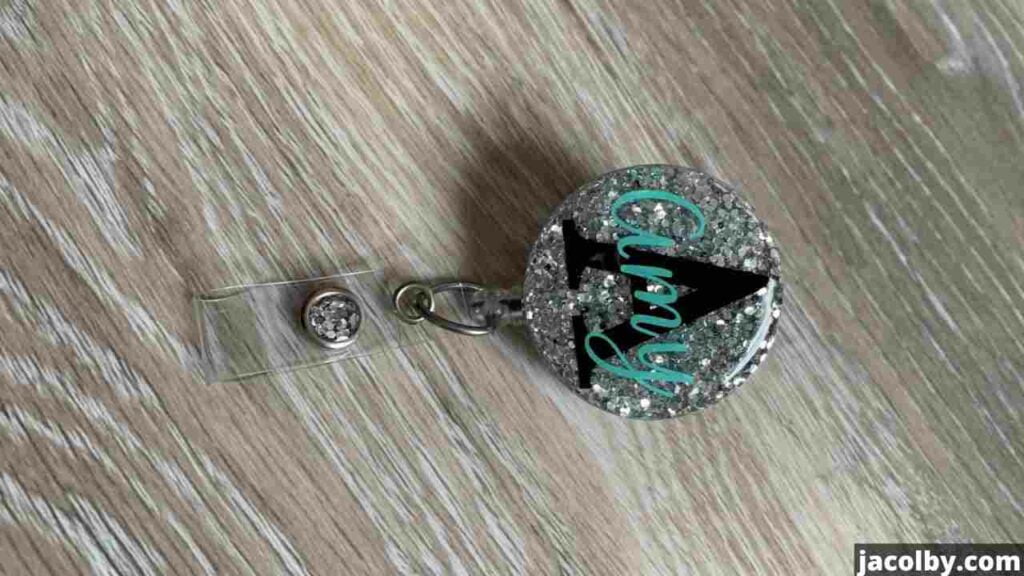
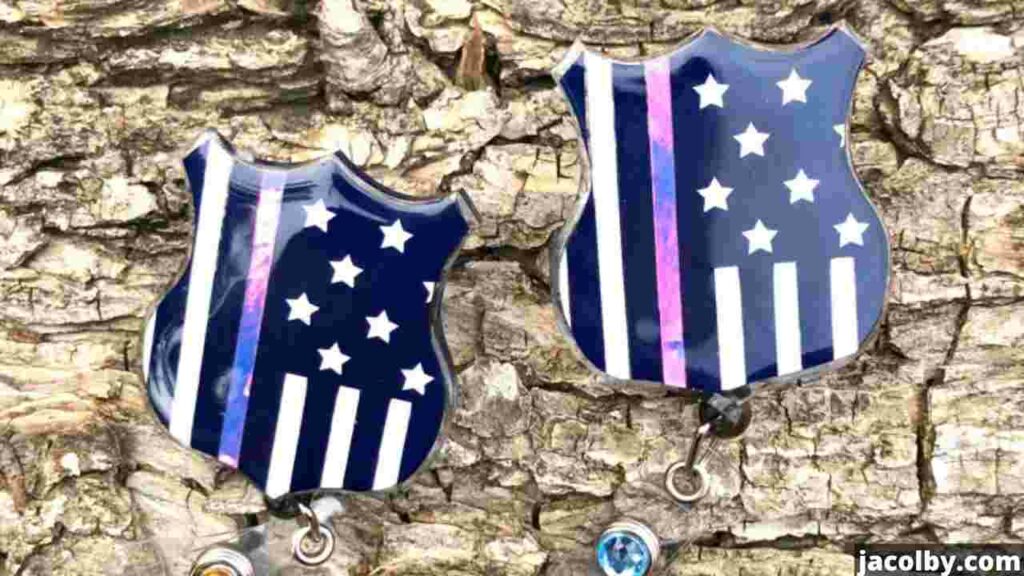
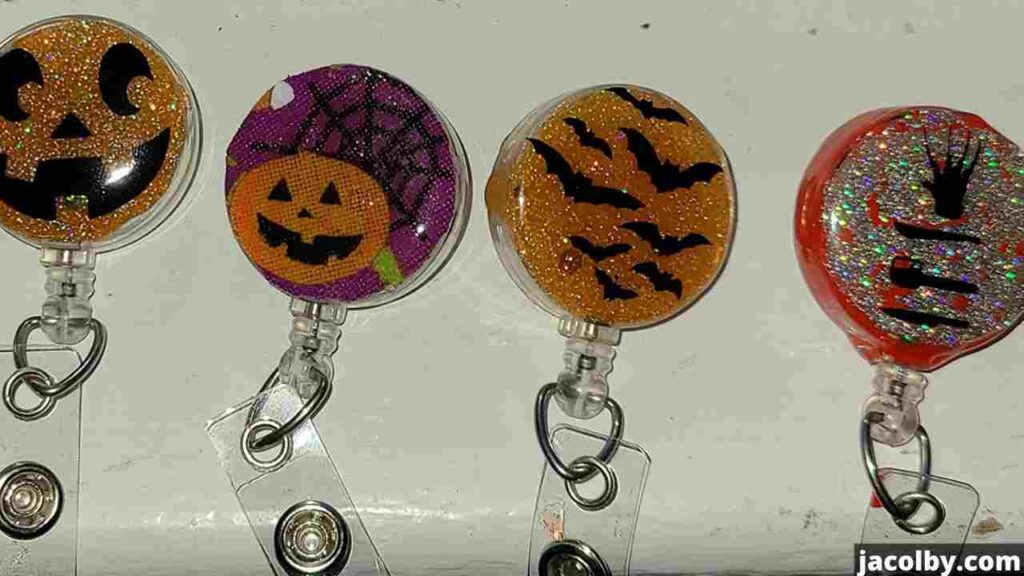
Resin badge reels are simple reels containing a badge being cast out of a resin. This is one of the best and most innovative resin art products.
The popularity credit directly goes to the most straightforward and most effective procedure of casting resin.
Materials Required For Resin Badge Reels –

Resin badges are among the easiest products to follow for resin art, and you don’t need any brick and stone to prepare them. You just need a few of the easily available things to curate them.
Let’s check out the list of materials you are required:
1. Tiny acrylic shapes (I prefer my badge to be leaf-shaped, you may choose any.)
2. UV Resin
3. Any badge reel.
4. Sterling snow glitter (optional-for decorative purposes).
5. Tressure glitter (optional- for decorative purposes).
6. Silicone mixing sticks.
7. Protective gloves.
8. Medicine cups.
9. Heat gun.
10. Sandpaper
Now, if you manage to gather these materials, you are all set to start your resin badge reel journey with this super easy process.
So, Get. Set. Cast.
How To Curate Resin Badge Reels?
Here comes the most awaited guide to making resin badge reels. Gathering all the materials might leave you in excitement to try making it.
So let’s directly dive into the real procedure to carve the best resin badge reels.

1. Initiate the procedure by taking your acrylic shape and removing the front cover. Keep the back cover intact to avoid the hassle and the mess.
2. Use sandpaper to rub the front surface well to make it super perfect for the go. You can use fine-grit sandpaper for the purpose as I find it very useful for the finest touch.
3. Now, wearing protective gloves, pour out some resin in a tiny scoop of sterling snow glitter in the medicine cup. I prefer UV resin(check the best UV resin) because it cures quickly.
4. Apply the thinnest single coat on the blank of the acrylic shape and let it sit for several minutes.
5. Take another medicine cup to pour another tiny scoop of treasure glitter with the resin and transfer it with care to the other blank.
6. Wait for several minutes to let it sit down (while you walk down to your balcony to take the pleasant view in the meanwhile).
7. If you see some air bubbles emerging, consider using a heat gun to eliminate the best. Just hover your heat gun over resin for 2-3 minutes, and you’ll be fine.

8. Let your badge take enough time to cure. The resin will start curing in 1-2 hours, and within 24 hours, you will get a complete solid badge of resin.
9. After it is cured, take some vinyl decals and apply them well over the surface to double coat the shine.
10. Little amount of resin is needed again to coat the top-most surface of your in-making badge. I prefer leveling it with your silicone sticks and waiting until dry.
11. You may put a heat gun to use again if you encounter tiny little air bubbles over the surface.
12. After completely drying your badge, use some resin to lock the circular edges with the finishing coat.
13. Wait till it gets super-dry and solid. In my case, it took almost 12 hours to cure completely. Trust me; you can also use UV light to cure UV resin. It cures like magic within just a couple of blinks.
14. Attach your reel to your amazingly made badge with the hook and enjoy your creative hardware.
Advantages Of Using UV Resin On Badge Reels –
The positive impact of using UV resin for curating badge reels was beyond excellence. I myself went crazy behind using UV resin for the same.
UV properties, such as low shrinkage during curing and good strengthening capabilities, made my extra badge firm, solid and amazing. It took no time to dry, between a few seconds to a few minutes.
You can rely on UV resin for the Sureshot of a special badge.
Tips And Tricks To Look While Making Badge Reels –

So, before making your own creative badge, you should look at these tips and tricks to get the masterpiece in one go.
This is a list of what I actually faced in curating my resin badge, and I want you to have a glance to avoid any mishaps.
1. Prefer ventilated area- Some resins cause inflammation and breathing problems. Always choose a ventilated area to perform your resin art.
2. Rely on face masks and protective gloves- To avoid stickiness over hands and skin irritation, wear gloves and a mask as well to avoid direct inhalation.
3. Use mixing sticks- Getting in direct contact with resin may cause irritation and inflammation; mixing sticks can work in favor to minimize that.
I relied on silicone sticks as they are resistant to resin ad its mixture.
4. Take resins in small quantities- A large amount of resin can appear to be smaller in amounts that lead to direct wastage of the mixture.
To reduce such clear wastage, I took resin in little smaller quantities. I used medicine cups for measuring my quantity, and they assisted me in the process well.
5. Pour the resins in layers- Pouring in the bulk results in a sudden drop of resin and thus destroying the whole piece.
I personally opted for the layering technique, and I was able to even cure my art piece within not much time without air bubbles. Kudos! To this.
Frequently Asked Question –
1. Can any resin be used to make the badge?
Yes, you can use any resin to make the badge. But make sure to rely on the best UV resin for the best results; in my case, they went really well.
2. Are glitters necessary to be used?
Well, glitters are no compulsion. They are only used for decorative purposes by me, so if you want your badge to have a shiny look, you may too.
3. Can I make my own reel instead of purchasing?
A big yes. You should try it if you are creative enough to curate it and arrange your raw materials. For me, purchasing from a local store and adding some beads helped create a beautiful masterpiece.
4. How much time does the resin takes to cure completely?
Well, if you rely on UV resin, then there is no smarter choice than this. It takes just a few seconds to cure, and you may dry each layer as soon as you pour, thus minimizing the real struggle of work and waiting for hours.
Conclusion –
Resin badge reels are no doubt why a popular choice when confused about the resin product to be curated. The simple process of casting it using the best epoxy resin was literate, fun, and out of this world.
Only a few things you need to take care of while diving into the process of making resin badge reels and abra-ka-dabra! It will result in a beautiful masterpiece.
Carving out the best resin badge is possible in the first go. Don’t you believe it? Try it out using this guide and comment on your experience. Happy making!