
What could be more valuable and appealing than a beautiful coaster? It adds a decorative touch to your home and safeguards your furniture simultaneously. Plus, it can be used to cover all kinds of drinks without any worry.
You can create your own coaster using the best coaster resin or upgrade an ordinary coaster with resin. The choice is simply yours. Resin coasters are pretty simple and straightforward to create.
While crafting them, you can explore your artistic side and enhance your creativity. There are different kinds of coaster molds available for you to make your own resin coaster.
So, without any delay, let’s discuss how to make your own coaster by using resin.
Table of Contents
Materials Needed –
Following is the list of materials you will need to make your resin coaster.
1. Embedded items such as shells, buttons, glitter, or sand
2. Color pigments
3. Mold release product
4. Resin drying
5. Disposable cups for mixing- 2-30ml cup and 1-300 ml cup
6. Gloves and safety glasses
7. Toothpicks
8. Handheld torch
9. Cloth
10. Empty box
Types Of Coaster Molds –
1. Square and round molds
2. Rectangular
3. Oval resin
4. Small and large hexagonal
5. Heart-shaped
6. Flower-shaped
7. Irregular designed
8. Two-piece which offers an ocean or river effect
These are some of the common coaster molds, while some others are available for you to choose from.
How To Make Resin Coaster?

1. Preparation –
The first and foremost thing is to prepare your workspace- a well-ventilated and clean room. Cover the work area with an old cloth to avoid any kind of a mess.
Ensure that you go through the instructions carefully and keep all the materials ready and within reach. Plus, wear gloves, goggles, and a mask.
Work in an environment that has a 72°F to 74°F temperature. Also, prepare the mold by applying the mold release product.
2. Mixing The Resin –
The next step is to mix the resin according to the ratio mentioned by the product manufacturer. However, before mixing, take the resin and place it inside the bowl of warm water for ten minutes to decrease the bubbles from it.
Plus, this will increase the time taken for curing. The rule for mixing resin is usually a 1:1 ratio of resin and hardener. Basically, always mix them in an equal ratio.
First, take both of them out in two separate bowls and then pour them evenly into a large cup. Second, stir them thoroughly for three minutes straight with a mixing stick.
3. Add Colors –
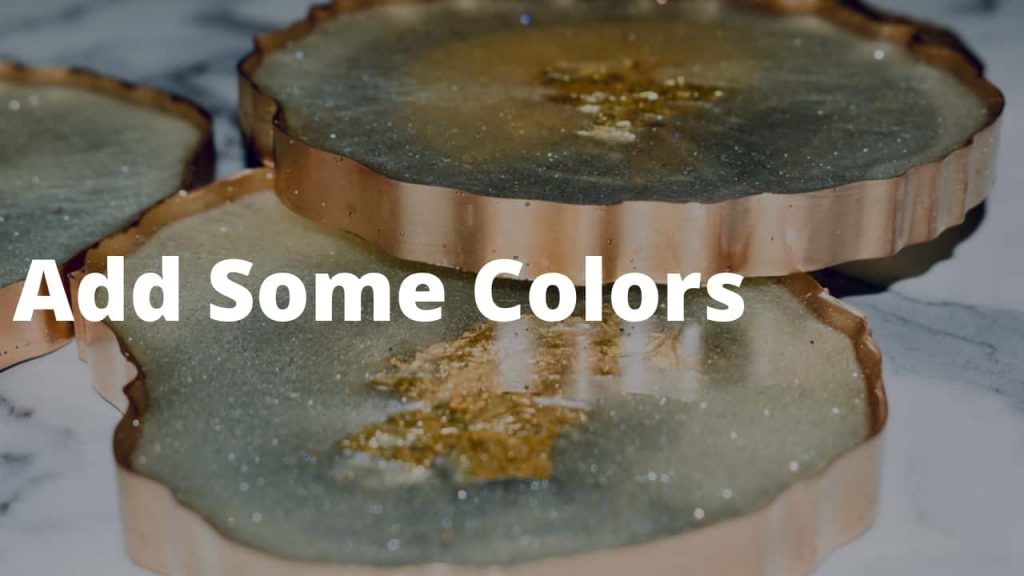 Now is the time if you want to add color to the resin. It is said that you should use a color brand that goes explicitly with the resin. If you use another brand, the result will not be up to the mark.
Once the hardener and resin have been mixed, you can add the color. It depends on how many colors you add according to the design you wish to create.
However, the colorants should not be more than 6 percent of the total resin volume. The colors that you can use are as follows-
1. Color Pigments
2. Alcohol Ink
3. Special Resin Dyes
4. Add Items And Pour The Mixture –
You can add whatever items you want into your resin in this step. You can add shells, stones, or any other thing. Pour only a little amount of resin into your selected mold and then embed your chosen items.
Be careful to avoid the formation of bubbles. Also, decide first which item you want at which place and not move objects too much when they are inside the mold with the resin.
After adding colors and items, now pour all the epoxy resin inside the caster mold. You need to do it with a steady hand, as one mistake can turn everything upside down.
5. Cover And Leave For Curing –

After pouring your resin, you can leave the resin coaster mold to cure. Leave the mold for at least 48 hours, and even for 72 hours in exceptional cases. While curing, make sure to cover it with a box or cloth so that the dust particles don’t enter the mold.
After the required time is complete, check if the mold is cured using a toothpick. Once the resin is hardened, you can take the coaster out, leave it for some time more, and then use it.
Conclusion –
Basically, coasters are quite useful items that add a certain touch of sophistication to your personal abode. Resin coasters are all the more beautiful and attractive for use.
They can be made in different designs and shapes with the help of varying coaster molds and resin. By following the above-listed steps, you can easily craft your own resin coasters.